
A mailmap is an inbound email forwarding feature where users can create an alias (example@yourdomain.com) and have messages sent to said alias forwarded to a valid third-party email address such as Gmail, Hotmail, etc.
However, users should note that the job of a mailmap is to forward messages to your destination address ONLY. When responding to these forwarded emails, you will respond from the destination address itself, not the mailmap. Since mailmaps have no authentication, there aren’t any credentials you can provide your mail provider for outbound delivery. This is simply an inbound mail forwarding delivery service.
For example, if the destination address you’ve specified is your Gmail address, the sender will see this address when you respond to that message. However, some third-party email hosts allow the customisation of your response back address, so check your settings to see if this is possible.
Users can create either a standard mailmap or an easyMail mailmap. The difference between the two other than easyMail mailmaps are only offered with service levels that allow for easyMail service, is standard mail maps are SRS enabled. For more details on our SRS-enabled email forwarding, please click here.
Please see BELOW for easyMAIL Mailmaps set up assistance.
Standard Mailmaps
1. Log into your easyDNS account.
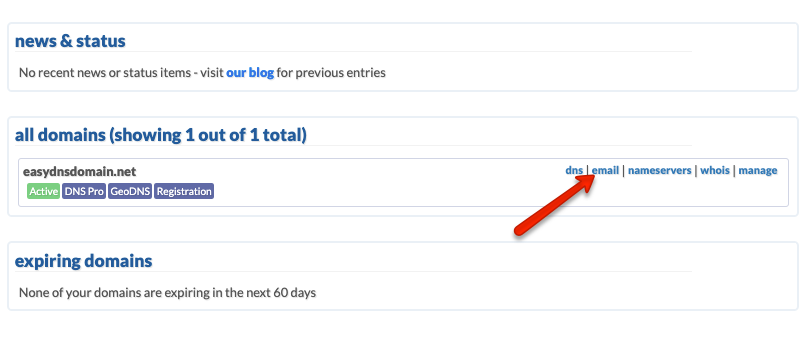
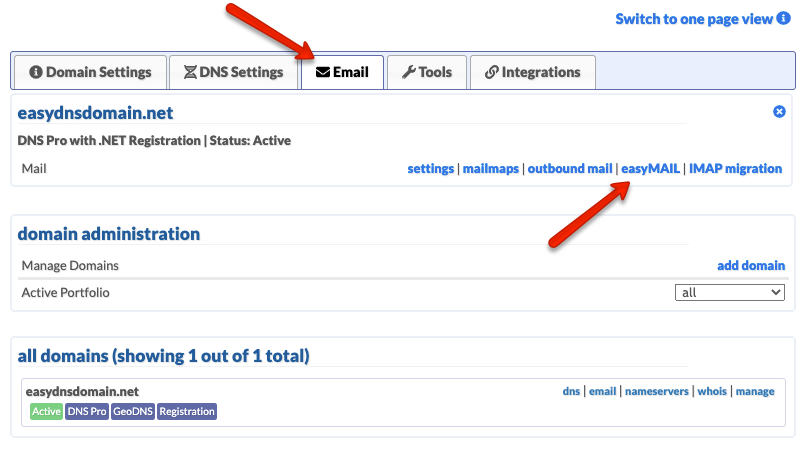
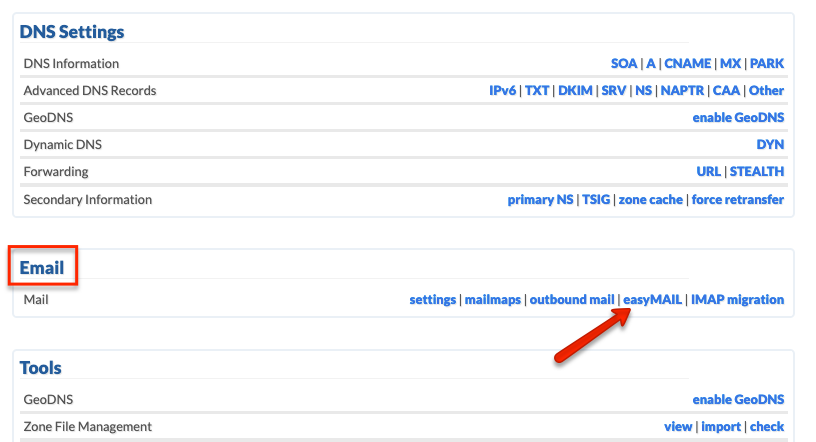
2. Click on EMAIL for the domain.
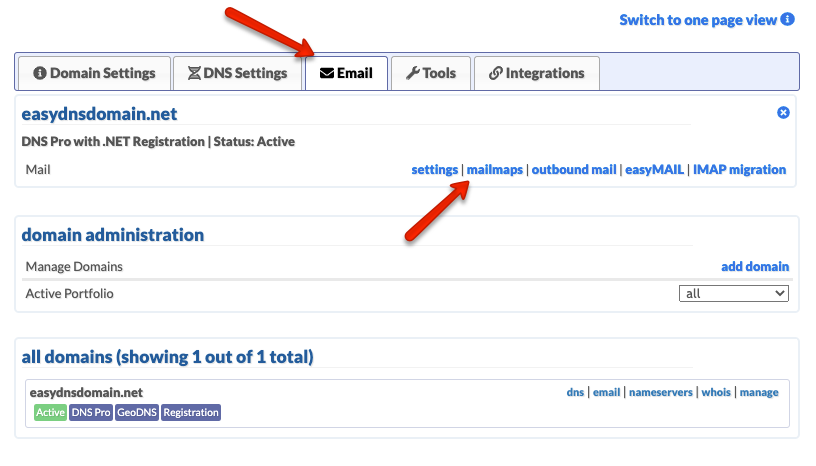
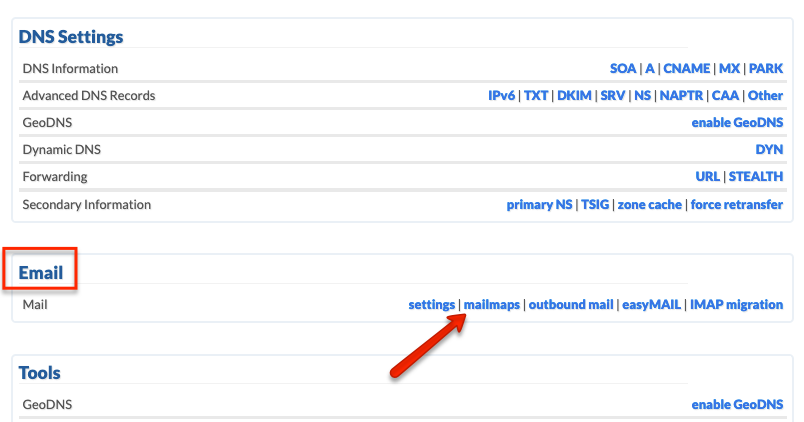
3. Under the EMAIL tab, click on MAILMAPS.
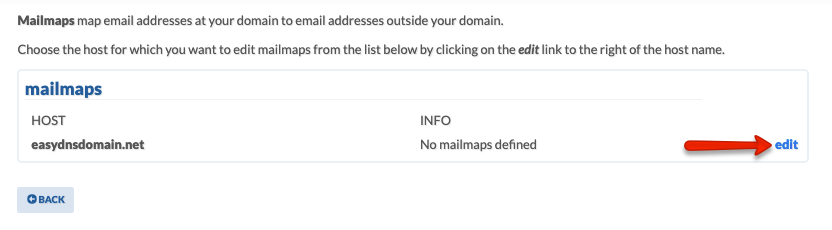
4. Click on EDIT.
5. Create your mailmap, specify your destination address, and click on NEXT.
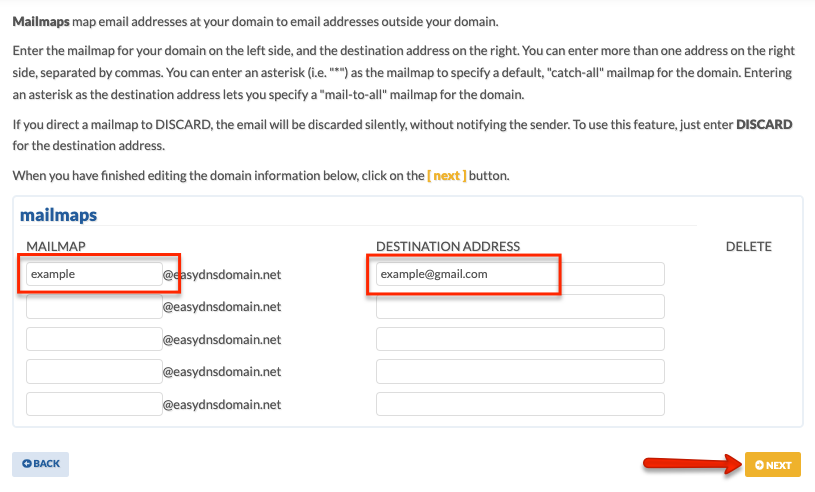
6. Confirm your changes.
NOTE: If you would like to continue to use our standard mailmap service while with another DNS provider, you’ll need to update your MX record to the following:
mx-caprica.easydns.com
You’ll also want to make sure this is the only MX record listed and has a priority/preference number of 0.
easyMail Mailmaps
1. Log into your easyDNS account.
2. Click on EMAIL for the domain.

3. Under the EMAIL tab, click on EASYMAIL.
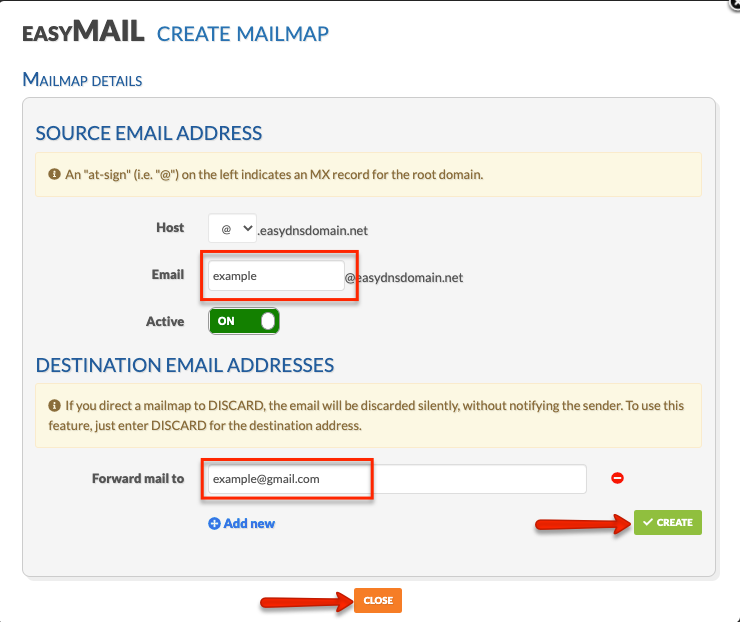
4. Click on the MAILMAPS tab and then click on CREATE MAILMAP.
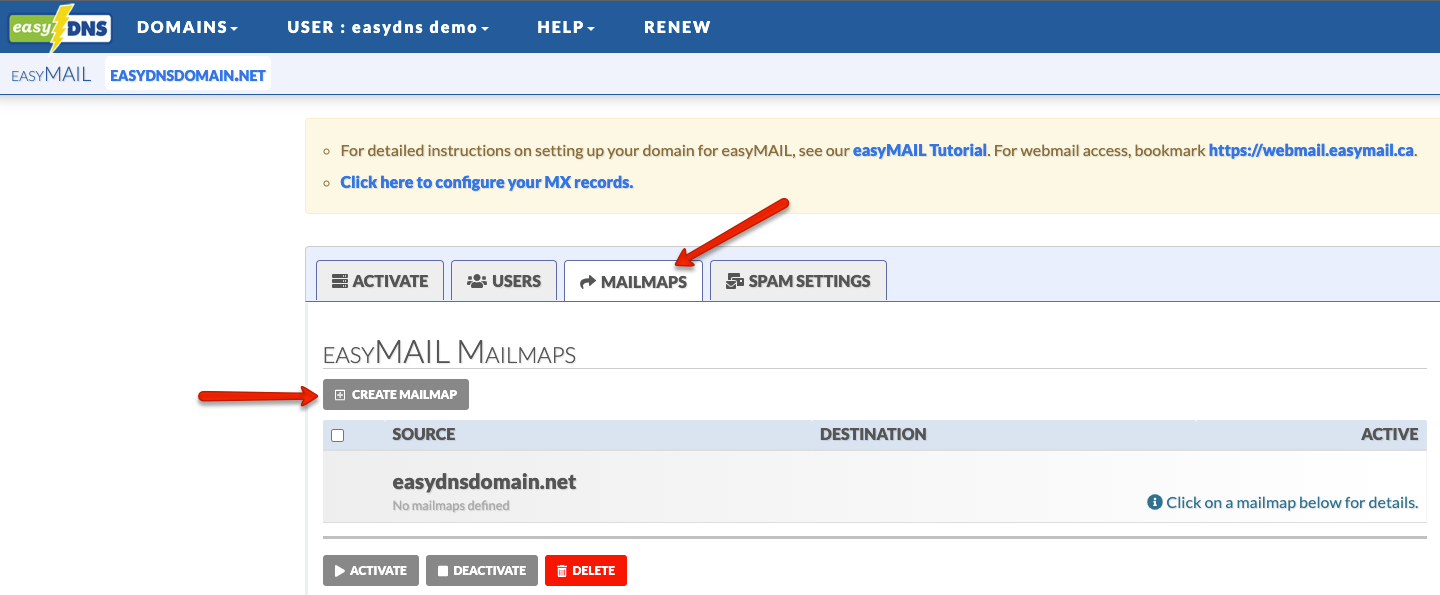
5. Create your mailmap under the EMAIL field and specify the destination address under the FORWARD MAIL TO field.
6. Click on CREATE to finalize the changes and then CLOSE when done.
You’ll also want to make sure this is the only MX record listed and has a priority/preference number of 0.