
Users now have the ability to migrate over emails from their existing providers to our easyMail service. Please note you’ll first want to set up your easyMail accounts before attempting any migrations. If you’re unsure of how to do this, then please go HERE for step by step instructions.
To use our email migration tool, you’ll want to do the following:
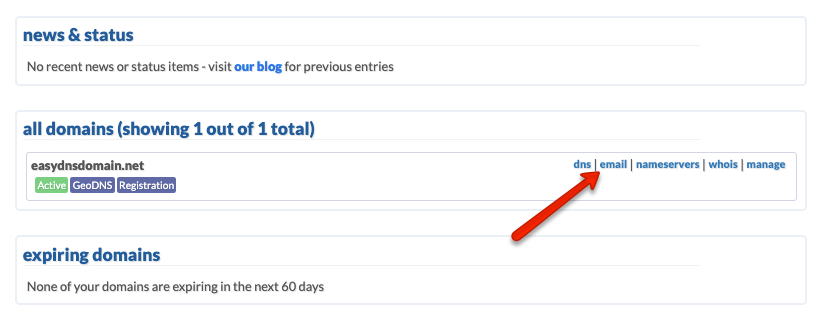
1.Log into your easyDNS account.
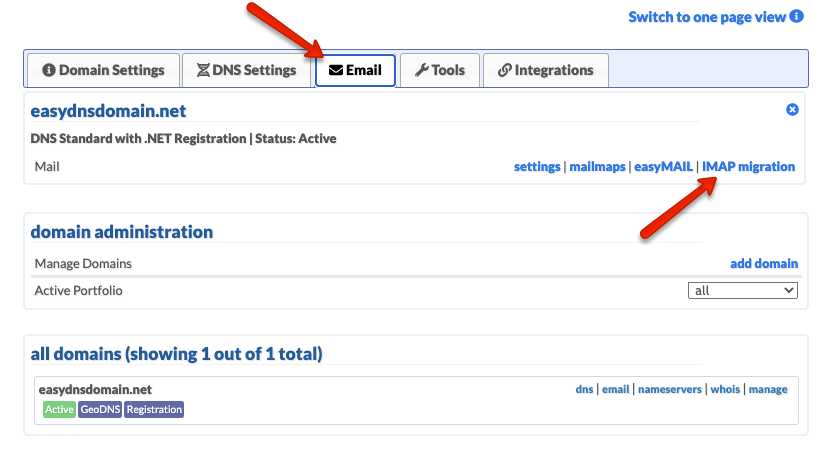
2. Click on the EMAIL.
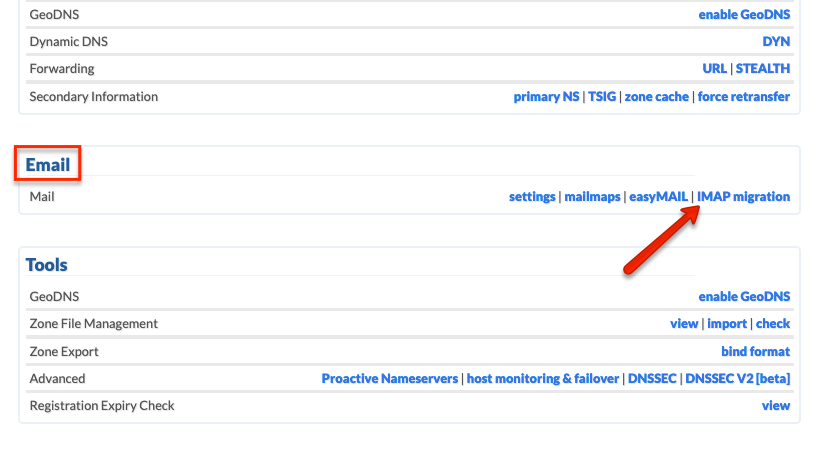
3. Click on IMAP MIGRATION.
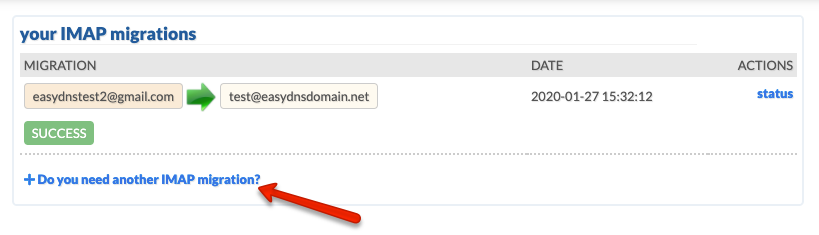
4. Click on the link to begin a migration.
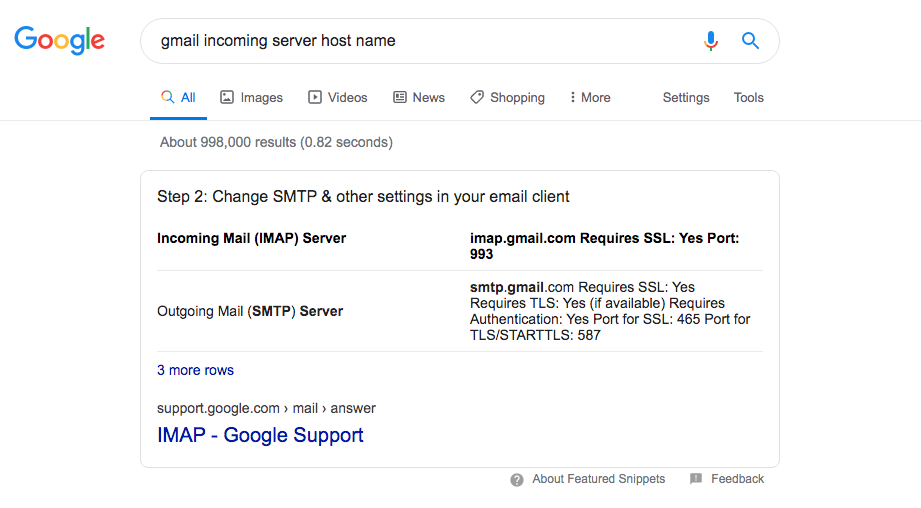
5. Enter your email address and password with your previous provider along with the incoming mail server under ADVANCED. If you are unsure of what your incoming server is then you can either do a search or get the information from your previous provider.
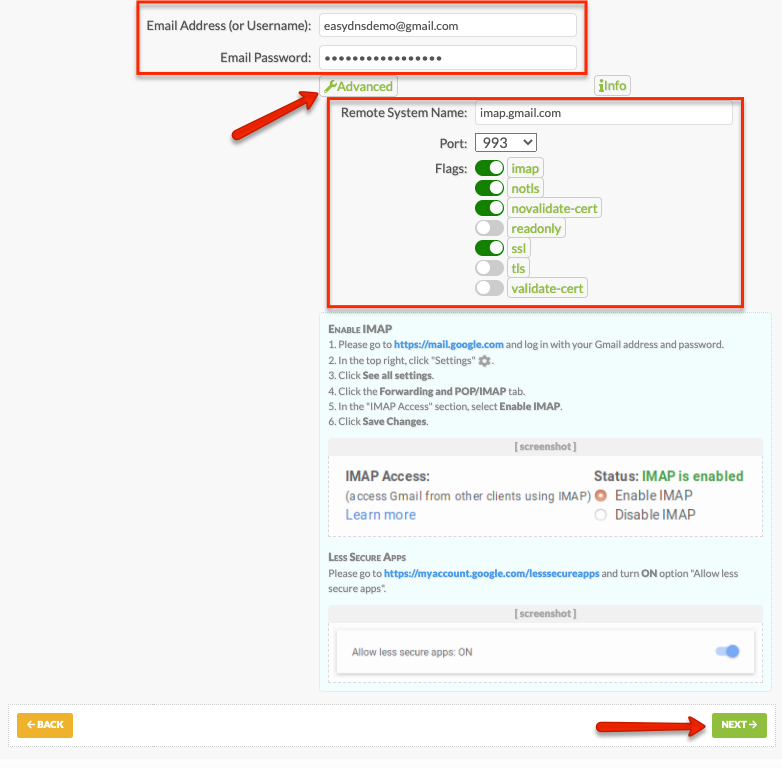
Please note that Gmail users will need to make sure some features are enabled before the migration tool can be used. Specifically the IMAP ACCESS feature needs to be enabled and access from ‘less secure apps’ which you can do HERE.

Please note that sometimes we will be unable to access the source mailbox due to a certificate failure. If you happen to get this error message then you can bypass this check by disabling the ‘VALIDATE-CERT’ option under ADVANCED. If you continue to get errors then please contact our support for further assistance.

6. Click on NEXT.
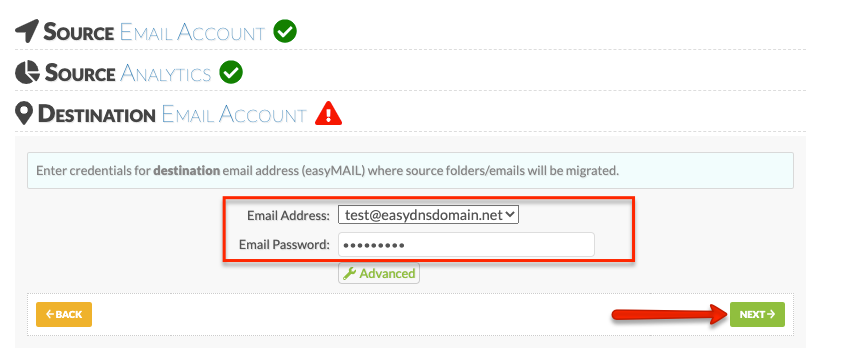
7. Select the easyMail account you’d like the messages migrated to, enter your password, and click on NEXT.
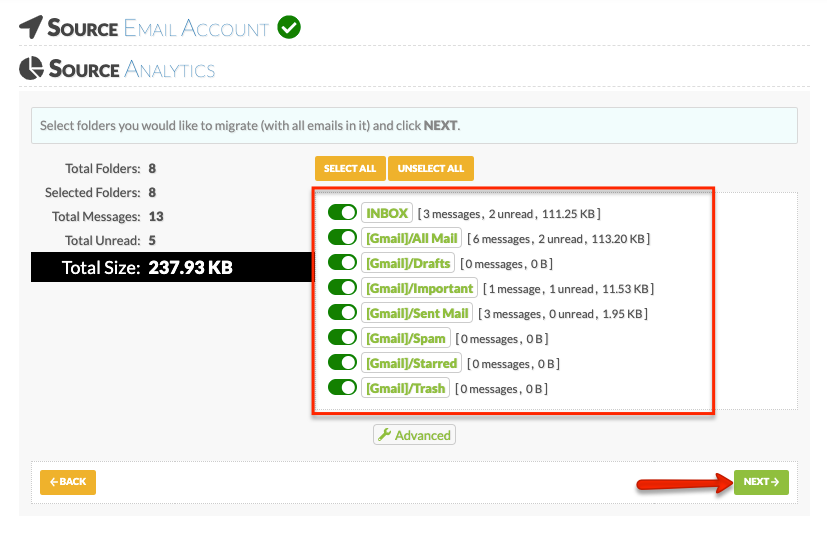
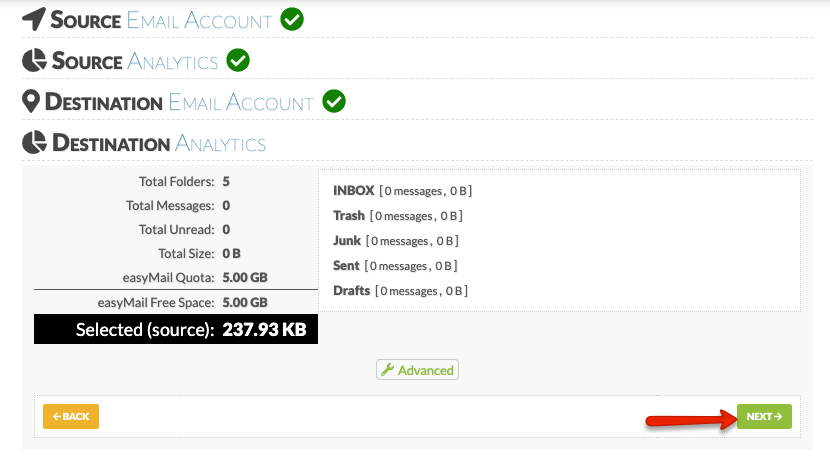
8. Once you see your easyMail analytics click on NEXT.
9. Accept the easyDNS Terms and Conditions and click on START IMAP MIGRATION.

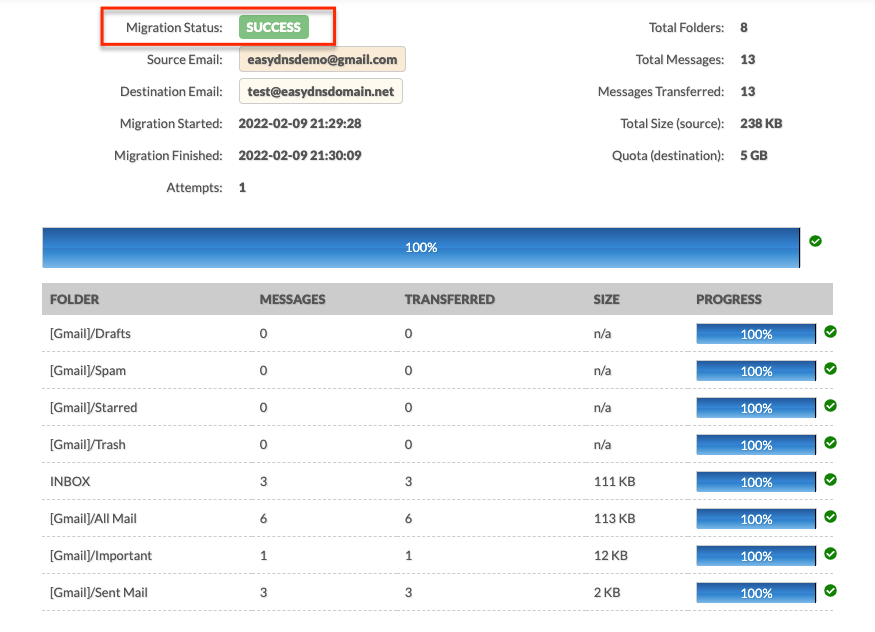
Once you see 100% across all your folders then your migration to easyMail has been completed:
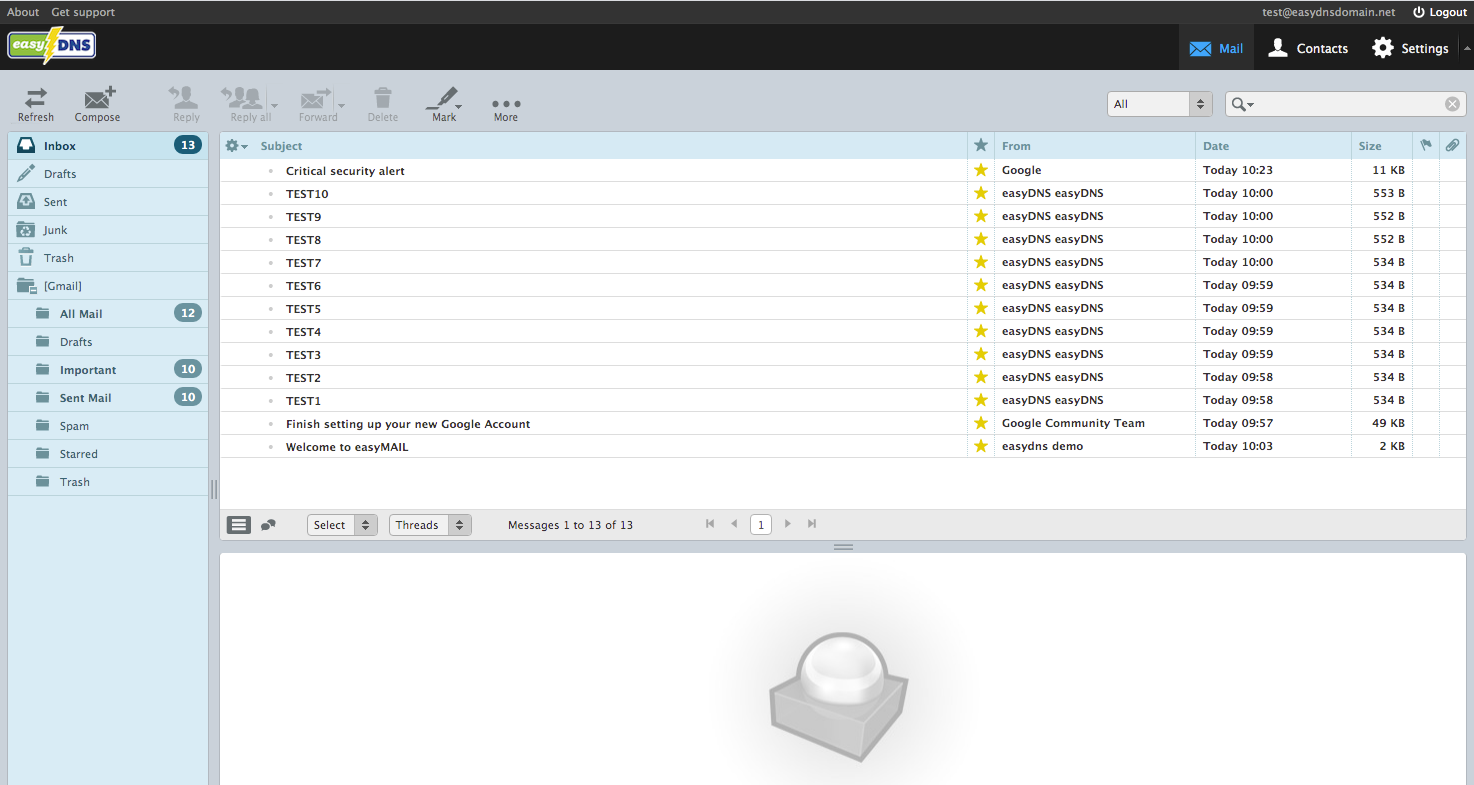
At this point you can log into your webmail account to verify that all messages have been successfully migrated:
If you have any further issues with the migration process please contact our support team.