
Here are two helpful links for using Outlook and troubleshooting problems when setting up your e-mail:
• Set up email in Outlook for Windows
• Outlook Training – for Windows, Mac OS, Web, Android, iOS, and Windows Phone
—————————————–
To set up easyMail in your Outlook mail client, please do the following:
1. Open your Outlook mail client
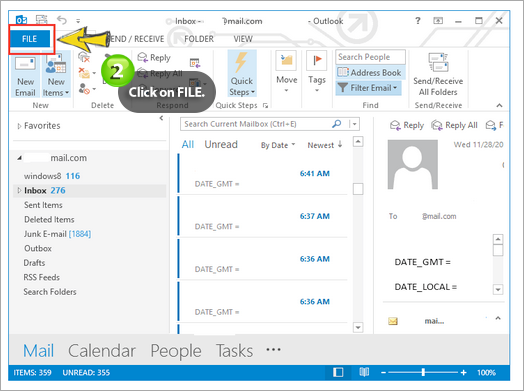
2. Click on FILE on the top left
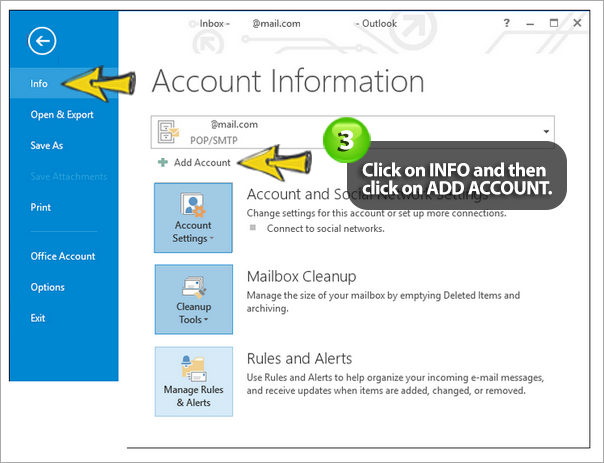
3. Click on INFO and then click on ADD ACCOUNT
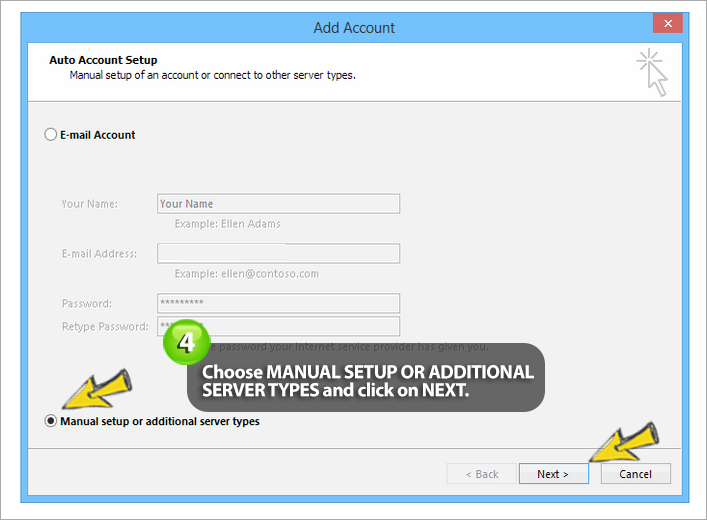
4. Choose MANUAL SETUP OR ADDITIONAL SERVER TYPES and click on NEXT
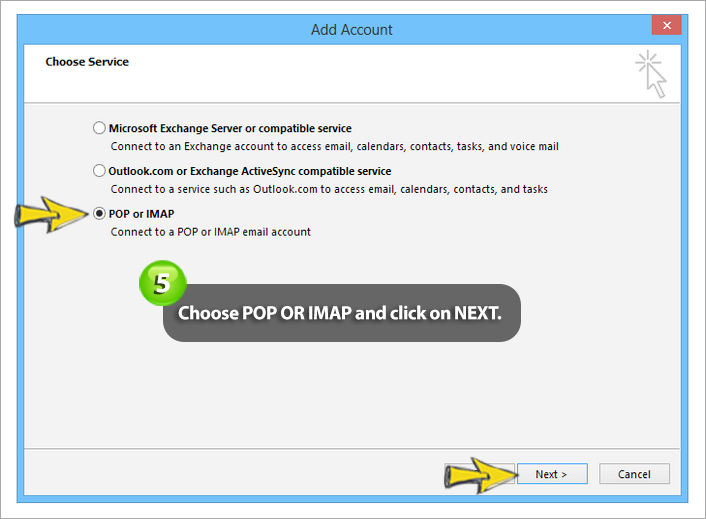
5. Choose POP OR IMAP and click on NEXT
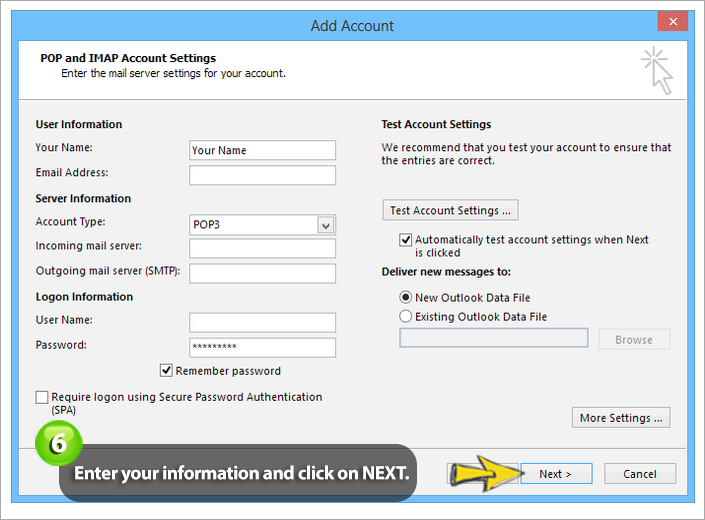
6. Enter your information and click on NEXT
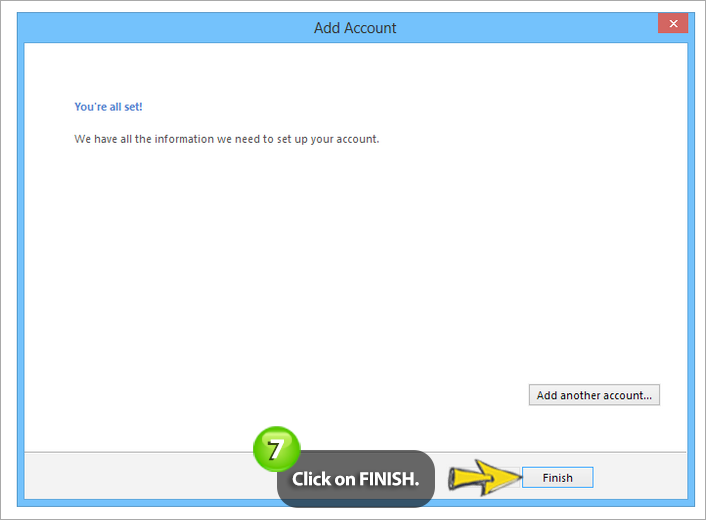
7. Click on FINISH
Your easyMail account will now be added to your Outlook mail client.
The following are the inbound and outbound settings you will need to enable easyMail in your Outlook setup:
Inbound
• IMAP
Server Hostname: imap.easymail.ca
Server Port: 993 or 143
Username: yourname@yourdomain (e.g., me@example.com)
Security Settings: TLS, SSL, or none
The default port for SSL-enabled IMAP is port 993.
Port 143 is not a secure port and not recommended
***OR***
• POP
Server Hostname: pop.easymail.ca
Server Port: 995 or 110
Username: yourname@yourdomain (e.g., me@example.com)
Security Settings: TLS, SSL, or none
The default port for SSL-enabled POP is port 995.
Port 110 is not a secure port and not recommended
Outbound
• SMTP
Outbound Mail Server: mailout.easymail.ca
Username: your full easyMAIL address (e.g., me@example.com)
Password: your easyMAIL password
Ports: 465, 587, 2025, 20025 (port 25 is not recommended)
TLS (optional): 465 (SSL), 587, 2025, 2026, 20025, 20026
Please be sure to have an Encryption Type (such as SSL/TLS or STARTTLS) selected in your mail programme. Oftentimes it’s necessary to try another port number to establish a successful connection.