The iPhone allows for both POP and IMAP set ups. As space is limited on the phone, however, it is strongly recommended that the IMAP configuration be used rather than POP.
If you would like to set up your easyMail account on your iPhone, please do the following:
1. Go to the SETTINGS app on your iPhone
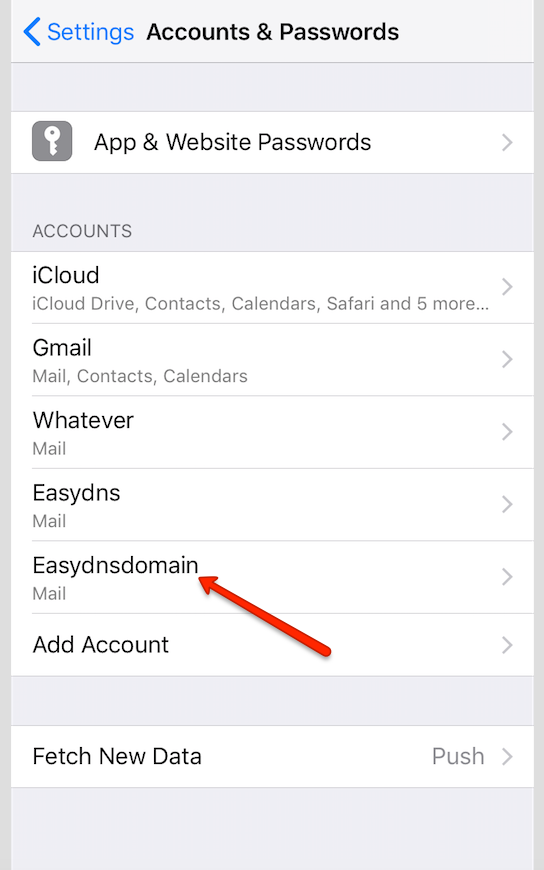
2. Go to ACCOUNTS & PASSWORDS

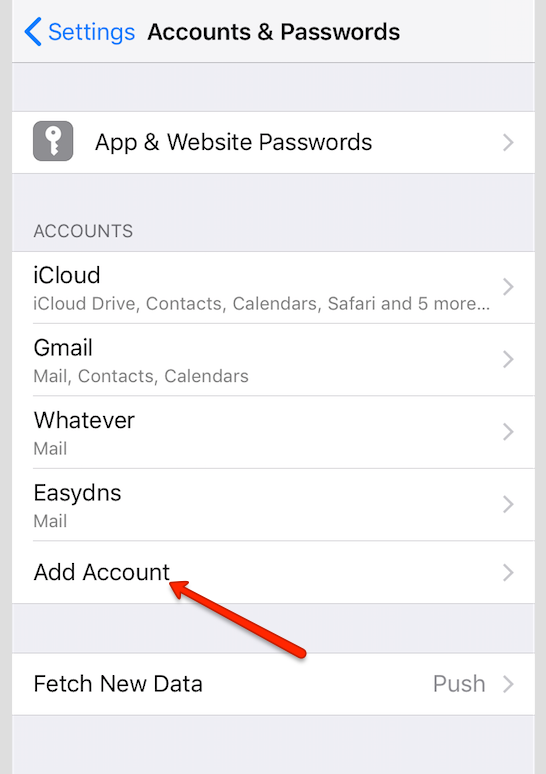
3. Go to ADD ACCOUNT
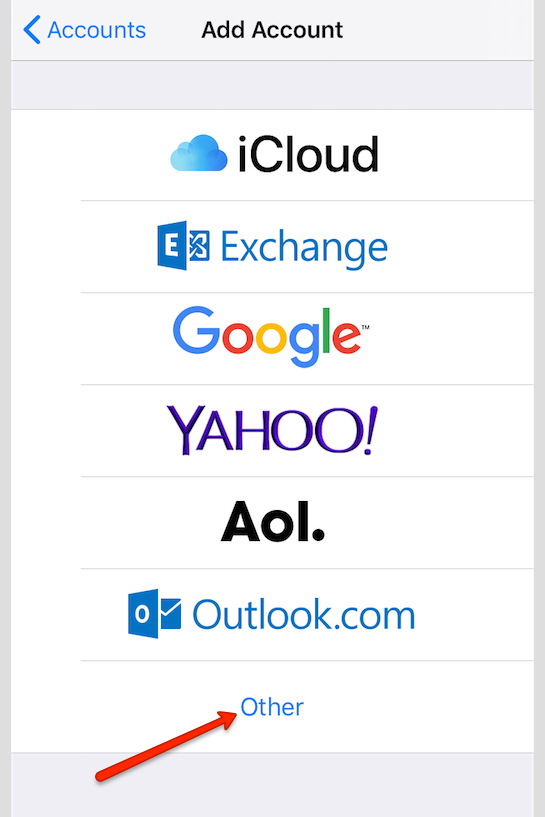
4. Go to OTHER
5. Go to ADD MAIL ACCOUNT

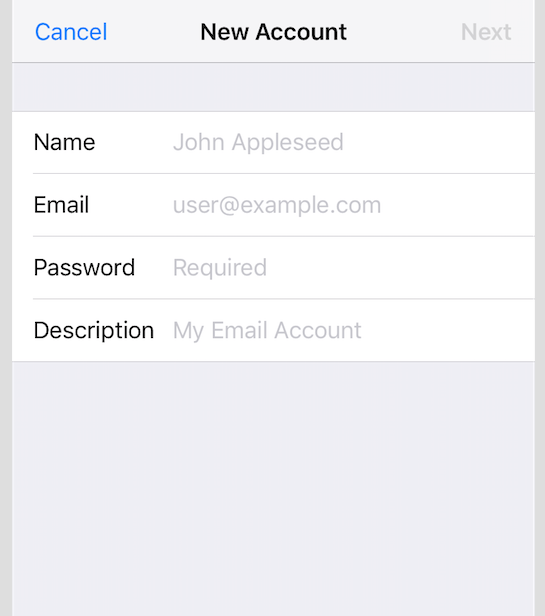
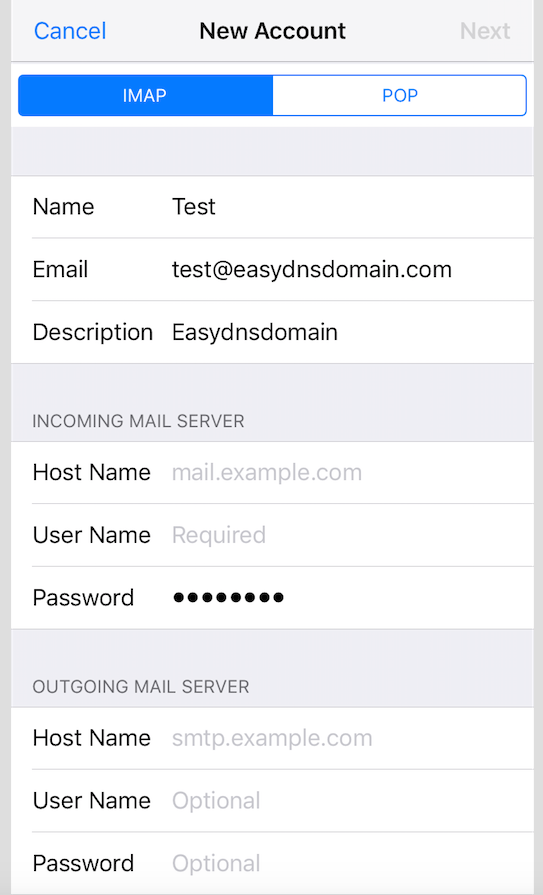
6. Enter your account information and go to NEXT
Name: This is the name that will be displayed when you send messages
Email: This is your easyMail address in FULL (example@yourdomain.com)
Password: This is the password you created for said easyMail address
Description: A description of your account
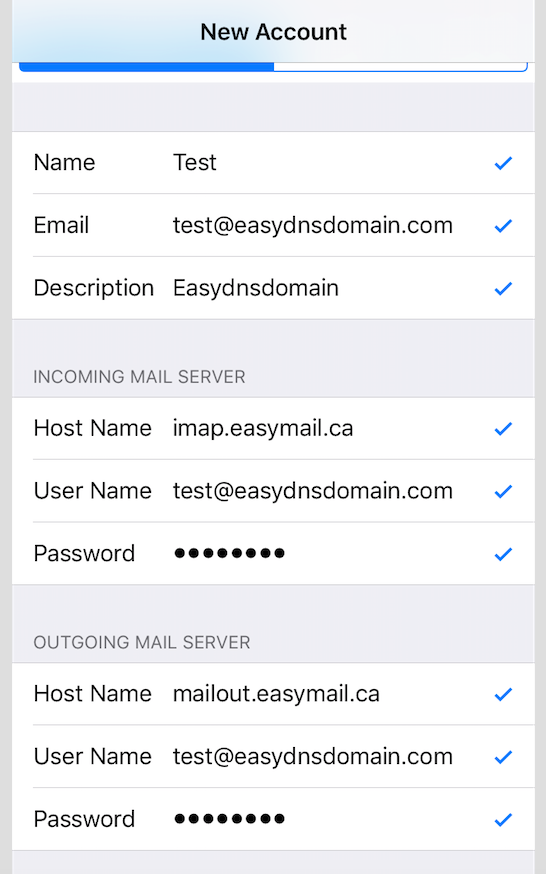
7. Choose between either IMAP or POP (we recommend IMAP), enter the easyMail server information, and go to NEXT.
Incoming Mail Server:
Host Name: imap.easymail.ca OR pop.easymail.ca
User Name: This is your easyMail address in FULL (example@yourdomain.com)
Password: This is the password you created for said easyMail address
Outgoing Mail Server:
Hostname: mailout.easymail.ca
User Name: This is your easyMail address in FULL (example@yourdomain.com)
Password: This is the password you created for said easyMail address
8. Your iPhone will verify the account information entered. You will receive numerous checkmarks once successful.
9. Go to SAVE
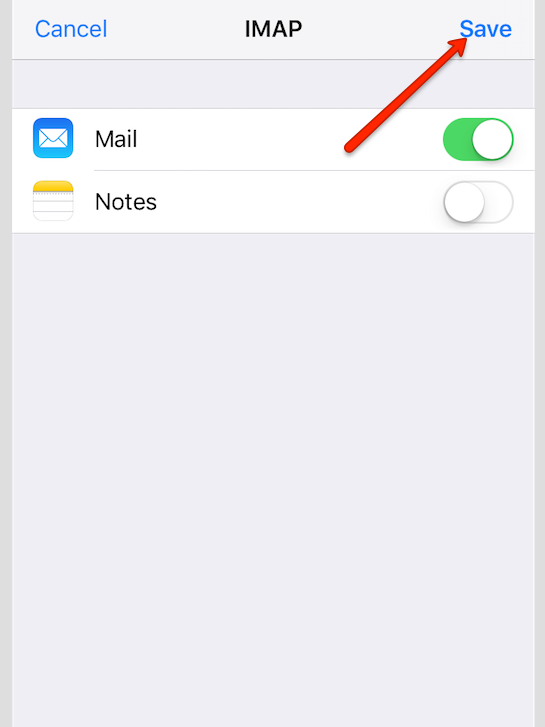
10. You should now be able to see your new account with your existing accounts.