Creating A Text Signature
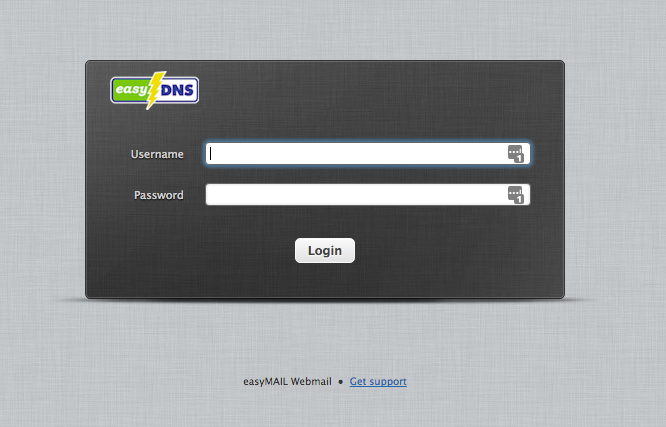
1. Log into your webmail account (messages.easymail.ca)
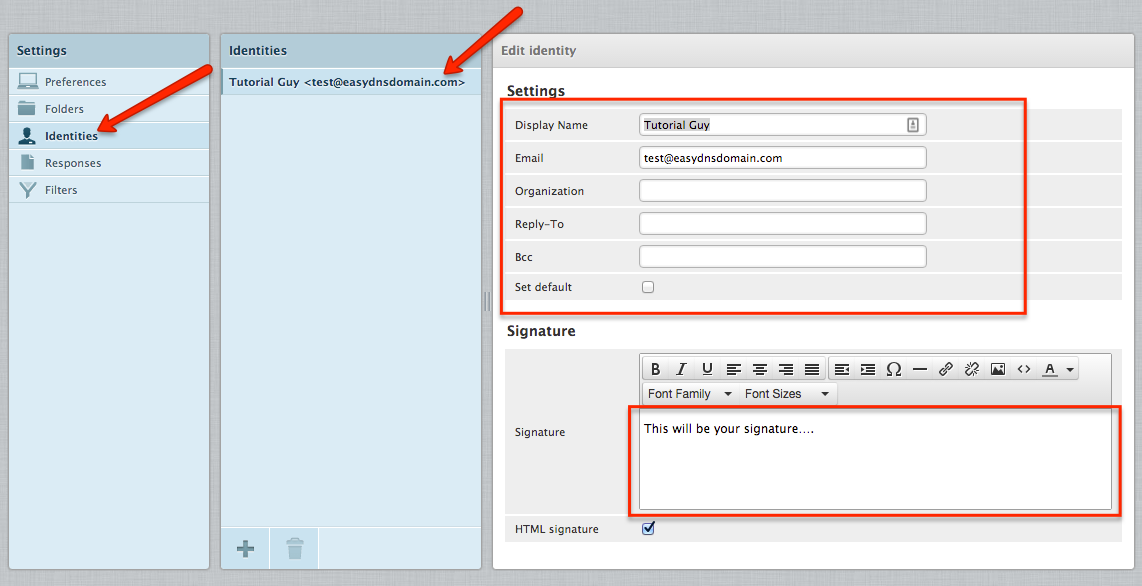
2. Click on SETTINGS

3. Under the SETTINGS column, click on IDENTITIES
4. Under the IDENTITIES column, click on the identity you wish to create a signature for
5. Enter your display name along with any other information you’d like to show
6. In the SIGNATURE box, enter the signature you’d like displayed in your messages
7. Click SAVE
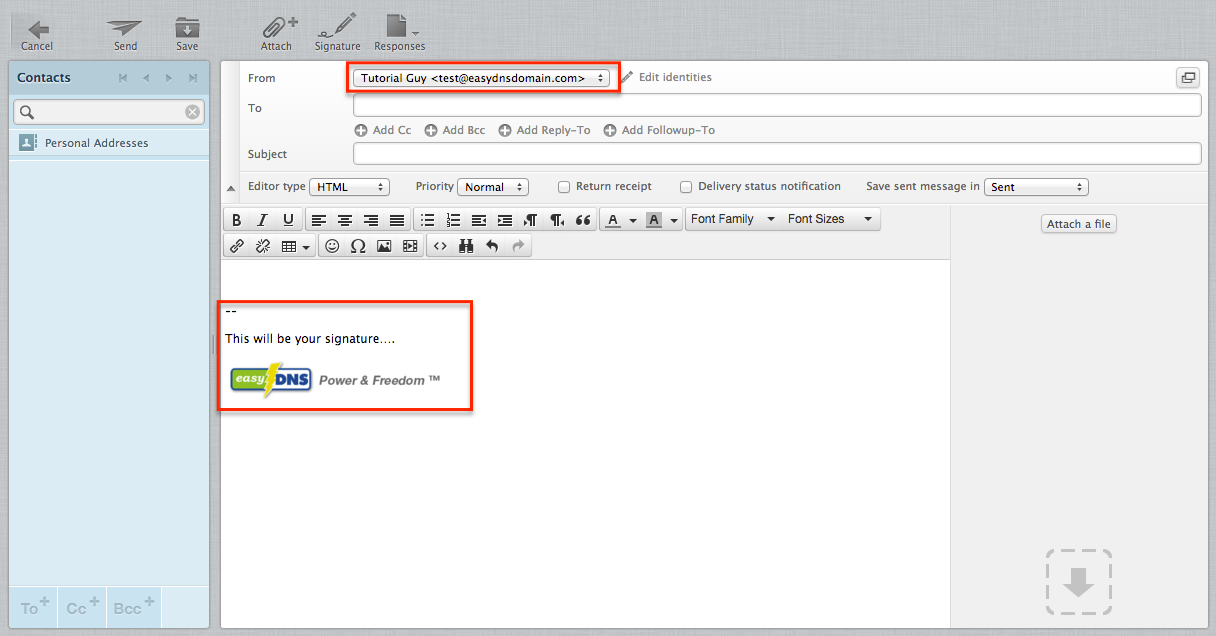
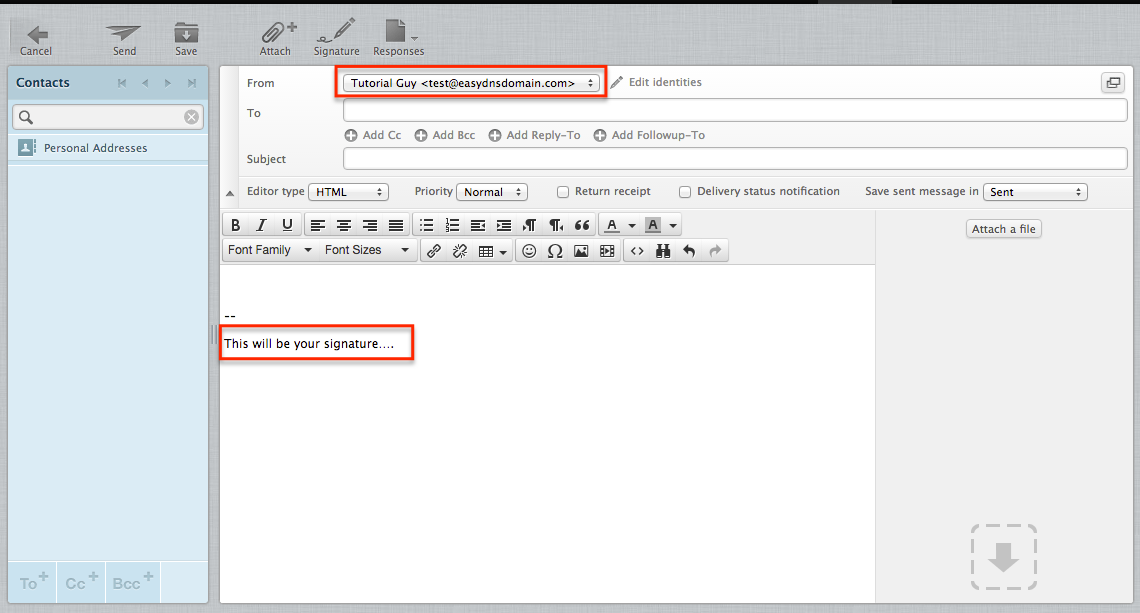
Once you’ve created your signature, you can see what it looks like by composing a message:
Creating A Signature With An Image
Before a user can create an image signature, they will need to make sure that a few things are enabled first.
1. Click on SETTINGS
2. Under the SETTINGS column, click on PREFERENCES
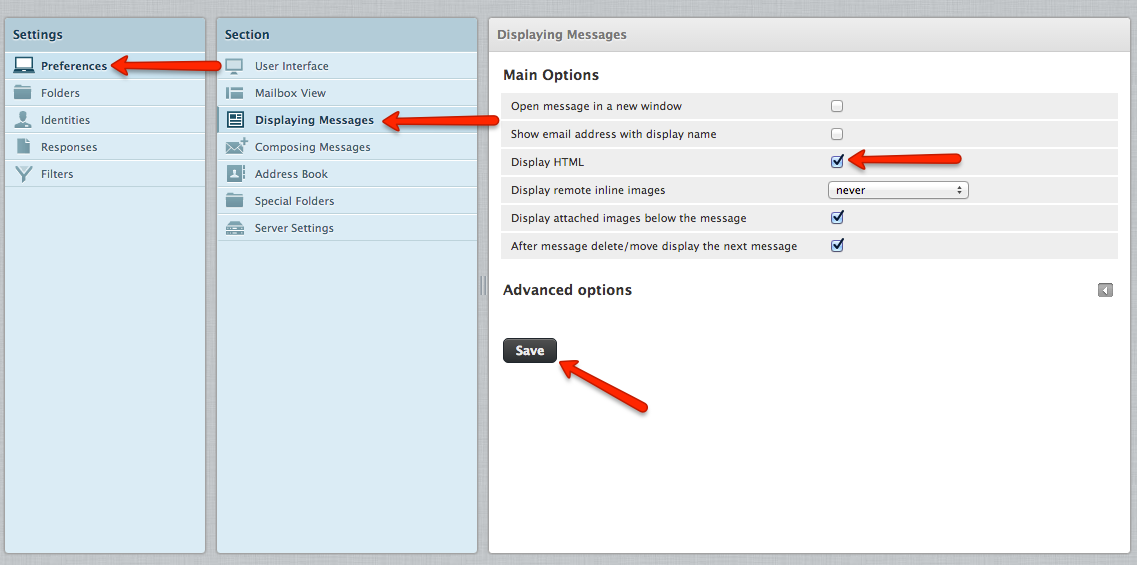
3. Under the SECTION column, click on DISPLAYING MESSAGES
4. Check DISPLAY HTML and click SAVE
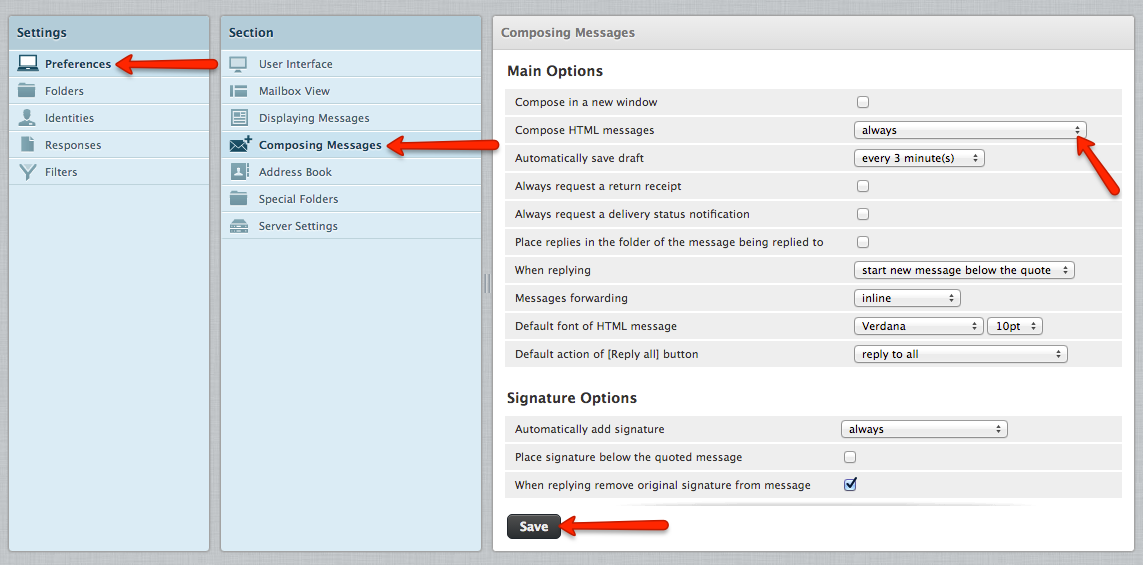
5. In the SECTION column, click on COMPOSING MESSAGES
6. In the COMPOSE HTML MESSAGES field, choose ALWAYS and click SAVE
7. In the SETTINGS column, click on IDENTITIES
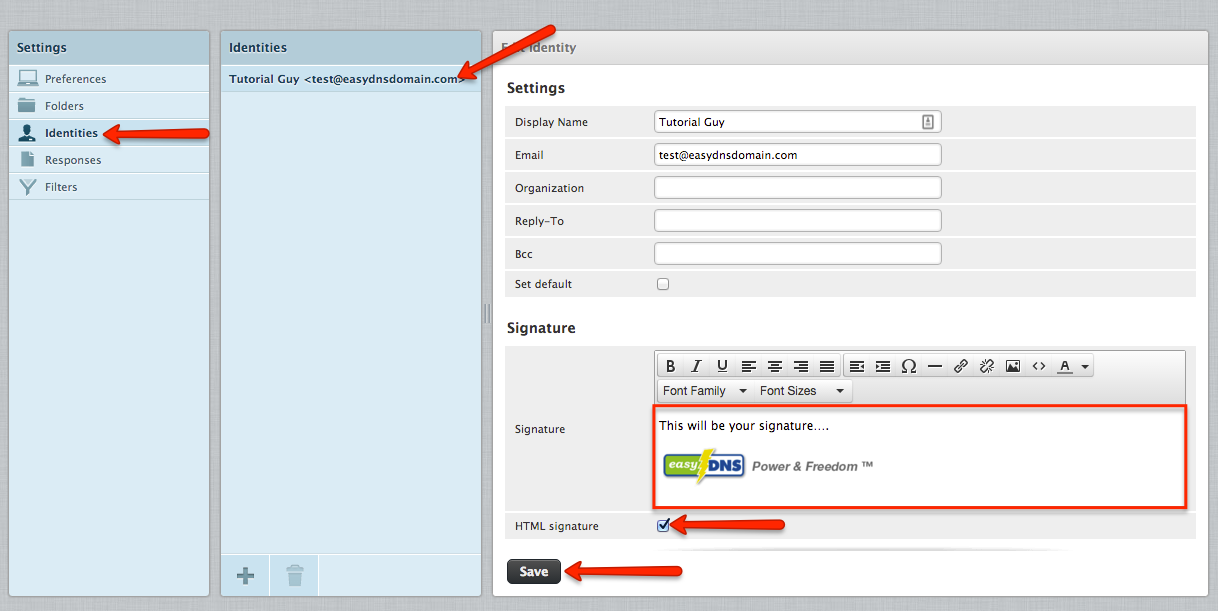
8. Click on the identity you’d like to create an HTML signature for
9. Enter all necessary information and drag/drop the image you’d like to include in your signature
10. Check the HTML SIGNATURE box and click SAVE
Your messages should now have the image within your signature: